【背景】
Pytorch为我们准备了许多灵活地数据加载方法,也自带了多种数据集(Cifar, MNIST, FASHIONMNIST等)。但有时我们需要自己定义数据集以适应自己的研究/开发需求。
【官方文档】
在torch中,我们可以很简单地定义Datasets,官方文档中描述如下:
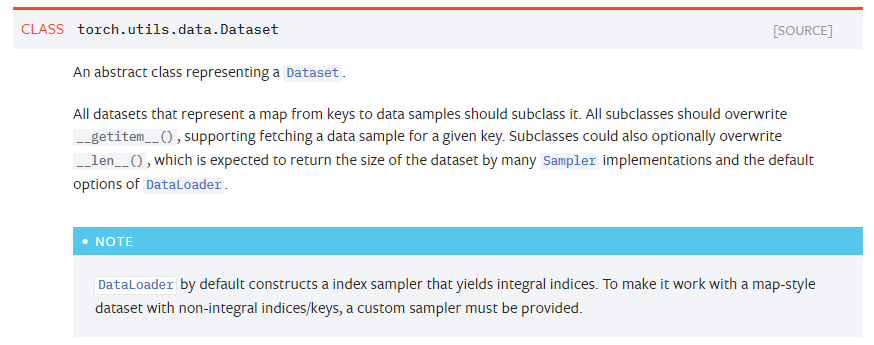
Dataset类是Pytorch中图像数据集中最为重要的一个类,也是Pytorch中所有数据集加载类中应该继承的父类。其中父类中的两个私有成员函数(见下code)必须被重载,否则将会触发错误提示.
1 2 3 4 5 | class DATASETSNAME(torch.utils.data.Dataset) def __getitem__(self, index): raise NotImplementedError def __len__(self): raise NotImplementedError |
其中__len__应返回数据集的大小(有时也叫长度),而__getitem__则应实现能够支持数据集索引的函数。
【getitem Function】
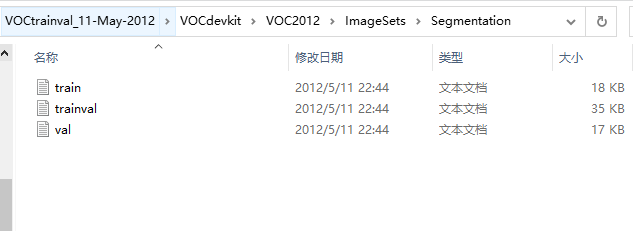
从函数的参数上看,__getitem__(self, index)接收一个index,然后返回图片数据和标签,这里的index通常指的是list的索引值,而list中的元素应该包含了图片数据的路径和标签信息。所以从本质上来看,pytorch将我们的数据集当做list来进行维护,我们只需要输入index即可直接从list中获取我们想要的数据。而对于list的维护也是我们应该重点关注的点。在本文实现例子中,VOC2012数据集将所有的图片名称规整地放置于:/VOCdevkit/VOC2012/Imagesets/分任务子文件夹/xxx.txt中。见下图:
打开其中的txt文件,得到如下内容:
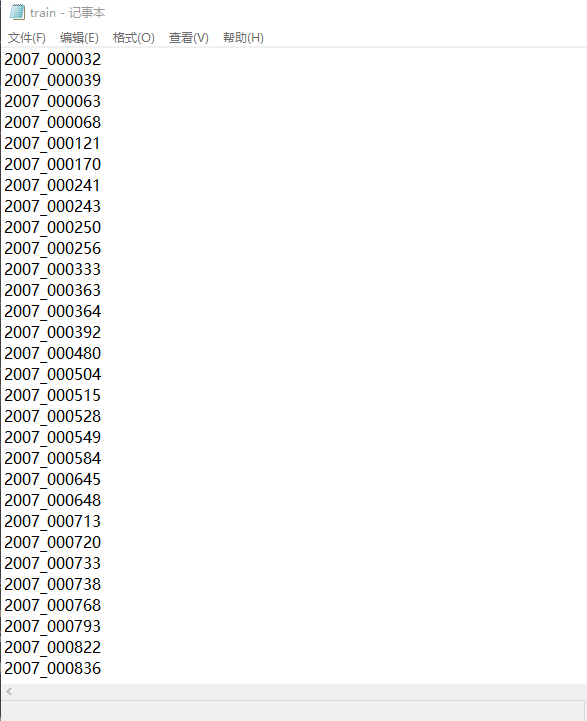
打开数据的其他文件夹我们观察到,这些以行为单位的数字代表着一张图片的ID,然后数据集以不同的文件夹对图片进行了分类。如:

其中:
| 文件夹名 | 描述 |
| Annotations | 存储每幅图在目标检测任务中需要的语义信息xml文档 |
| ImageSets | 存储图像的标签信息(用以维护list) |
| JPEGImages | 存储原始图像 |
| SegmentationClass | 存储语义分割任务需要的图像(G.T) |
| SegmentationObject | 存储目标分割需要的图像(G.T) |
| SegmentationAug |
存储增强版语义分割任务训练图像(G.T) |
我们打开JPEGImages看一下数据集的内容:
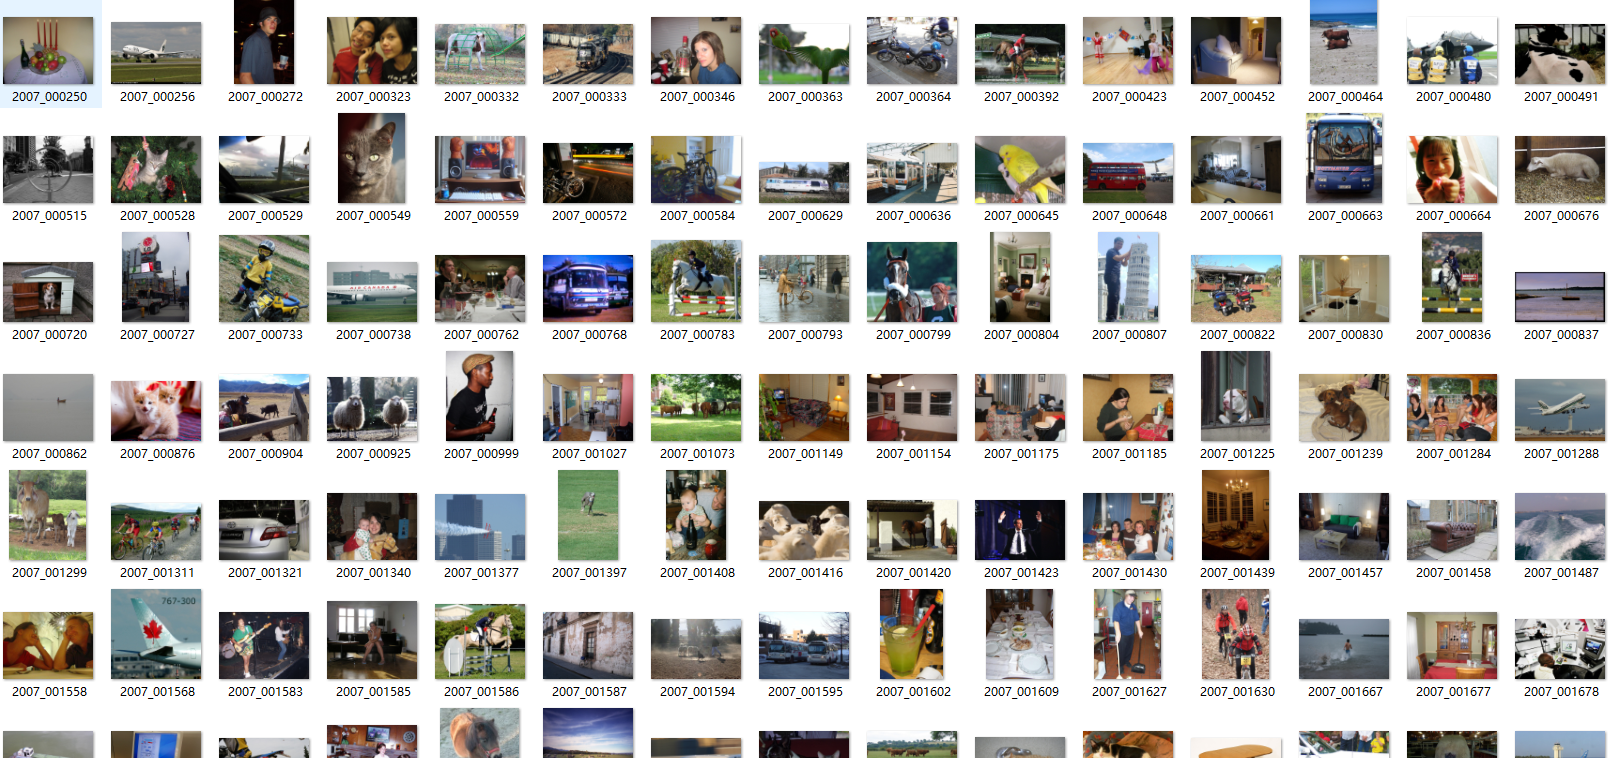
那么我们的整体思路就有了:
我们通过读取:ImagetSets文件夹下的txt文件获取不同任务需要的数据集图像ID。(这个ID是制作数据集的作者提前写好的),然后我们将这些ID转换成文件存储路径(训练数据,GroundTruth, 训练验证数据),再将路径信息转换成为list,该list中每一个元素对应一个样本。这样我们就可以通过__getitem__(),函数获取到数据图像和标签。
代码如下:
1 2 3 4 5 6 7 8 9 10 11 12 | def _list_files(self): self.image_dir = os.path.join(self.root, "JPEGImages") self.label_dir = os.path.join(self.root, "SegmentationClass") if self.split in ['val', 'train', 'train_val', 'test']: self.file_list = os.path.join(self.root, "ImageSets\Segmentation", self.split+".txt") self.file_list = tuple(open(self.file_list, "r")) image_list = [os.path.join(self.image_dir, id.replace("\n", '') + '.jpg') for id in self.file_list] label_list = [os.path.join(self.label_dir, id.replace("\n", '') + '.png') for id in self.file_list] self.images = image_list self.labels = label_list else: raise ValueError("Invalid split name:{}".format(self.split)) |
读取数据图像代码如下:
1 2 3 4 5 6 7 8 | def _load_datas(self, index): image_id = self.file_list[index].replace('\n', '') image_path = self.images[index] label_path = self.labels[index] # important!!! The image_path should not contain the charset with chinese location image = cv2.imread(image_path, cv2.IMREAD_COLOR).astype(np.float32) label = np.asarray(Image.open(label_path), dtype=np.int32) return image_id, image, label |
【数据预处理】
我们这里并没有直接在__getitem__函数中构造function,而是将转换list操作单独写入了一个方法中。这是为了方便我们对数据集进行一些预处理操作。(均值化,随机裁剪,填充,随机仿射等)。这是作者在阅读文献时积累的几个代码(基于cv2, numpy, PIL, random),但其实pytorch也为我们提供了庞大的数据预处理的库。详见:torchvision.transforms
随机裁剪代码如下:
1 2 3 4 5 6 7 8 9 10 11 12 13 14 15 16 17 18 19 20 21 22 23 24 25 26 27 | def randomCrop(image, label, mean_bgr, crop_size=382): # Handle some except produres by height or width lower than the size of cropping operation h, w =label.shape pad_h = max(crop_size - h, 0) pad_w = max(crop_size - w, 0) mean_bgr = np.array(mean_bgr) pad_kwargs = { "top": 0, "bottom": pad_h, "left": 0, "right": pad_w, "borderType": cv2.BORDER_CONSTANT } if pad_h > 0 or pad_w > 0: image = cv2.copyMakeBorder(image, value=mean_bgr, **pad_kwargs) label = cv2.copyMakeBorder(label, value=0, **pad_kwargs) # Handle ended # Random Cropping h, w = label.shape start_h = random.randint(0, h - crop_size) start_w = random.randint(0, w - crop_size) end_h = start_h + crop_size end_w = start_w + crop_size image = image[start_h:end_h, start_w:end_w] label = label[start_h:end_h, start_w:end_w] # Cropping ended return image, label |
随机翻转代码如下:
1 2 3 4 5 | def randomFlip(image, label): if random.random() < 0.5: image = np.fliplr(image).copy() label = np.fliplr(label).copy() return image, label |
随机放缩代码如下:
1 2 3 4 5 6 7 8 9 | def randomScale(image, label, scales=(0.5, 0.75, 1.0, 1.25, 1.5)): h, w = label.shape scale_factor = random.choice(scales) h = int(h * scale_factor) w = int(w * scale_factor) image = cv2.resize(image, (w,h), interpolation=cv2.INTER_LINEAR) label = Image.fromarray(label).resize((w, h), resample=Image.NEAREST) label = np.asarray(label, dtype=np.int64) return image, label |
【完整实现VOC2012】
VOC.py代码如下:
1 2 3 4 5 6 7 8 9 10 11 12 13 14 15 16 17 18 19 20 21 22 23 24 25 26 27 28 29 30 31 32 33 34 35 36 37 38 39 40 41 42 43 44 45 46 47 48 49 50 51 52 53 54 55 56 57 58 59 | # -*- coding:utf-8 -*-import torchfrom torch.utils import datafrom utils.dsetsHandle import randomFlip, randomCrop, randomScaleimport cv2from PIL import Imageimport numpy as npimport osclass VOC12Dataset(data.Dataset): def __init__(self, root_path, split, mean_bgr=(104.008, 116.669, 122.675), augment=0): self.root = root_path self.augment = augment self.split = split self._list_files() self.mean_bgr = mean_bgr self.images self.labels self._load_datas(0) def __len__(self): return len(self.file_list) def __getitem__(self, index): (image_id, image, label) = self._load_datas(index) #数据预处理,增强操作 if self.augment == 1: image, label = randomScale(self.images[index], self.labels[index]) if self.augment == 2: image, label = randomCrop(self.images[index], self.labels[index], self.mean_bgr) if self.augment == 3: image, label = randomFlip(self.images[index], self.labels[index]) image -= self.mean_bgr #均值化处理 #image = image.transpose(2, 0, 1) return image_id, image.astype(np.float32), label.astype(np.int64) def _list_files(self): self.image_dir = os.path.join(self.root, "JPEGImages") self.label_dir = os.path.join(self.root, "SegmentationClass") if self.split in ['val', 'train', 'train_val', 'test']: self.file_list = os.path.join(self.root, "ImageSets\Segmentation", self.split+".txt") self.file_list = tuple(open(self.file_list, "r")) image_list = [os.path.join(self.image_dir, id.replace("\n", '') + '.jpg') for id in self.file_list] label_list = [os.path.join(self.label_dir, id.replace("\n", '') + '.png') for id in self.file_list] self.images = image_list self.labels = label_list else: raise ValueError("Invalid split name:{}".format(self.split)) def _load_datas(self, index): image_id = self.file_list[index].replace('\n', '') image_path = self.images[index] label_path = self.labels[index] # important!!! The image_path should not contain the charset with chinese location image = cv2.imread(image_path, cv2.IMREAD_COLOR).astype(np.float32) label = np.asarray(Image.open(label_path), dtype=np.int32) return image_id, image, label |
Utils.dsetsHandle.py
1 2 3 4 5 6 7 8 9 10 11 12 13 14 15 16 17 18 19 20 21 22 23 24 25 26 27 28 29 30 31 32 33 34 35 36 37 38 39 40 41 42 43 44 45 46 47 48 49 50 51 52 53 54 55 56 | # -*- coding:utf-8 -*-import cv2import numpy as npfrom PIL import Imageimport randomdef randomScale(image, label, scales=(0.5, 0.75, 1.0, 1.25, 1.5)): h, w = label.shape scale_factor = random.choice(scales) h = int(h * scale_factor) w = int(w * scale_factor) image = cv2.resize(image, (w,h), interpolation=cv2.INTER_LINEAR) label = Image.fromarray(label).resize((w, h), resample=Image.NEAREST) label = np.asarray(label, dtype=np.int64) return image, labeldef randomCrop(image, label, mean_bgr, crop_size=382): # Handle some except produres by height or width lower than the size of cropping operation h, w =label.shape pad_h = max(crop_size - h, 0) pad_w = max(crop_size - w, 0) mean_bgr = np.array(mean_bgr) pad_kwargs = { "top": 0, "bottom": pad_h, "left": 0, "right": pad_w, "borderType": cv2.BORDER_CONSTANT } if pad_h > 0 or pad_w > 0: image = cv2.copyMakeBorder(image, value=mean_bgr, **pad_kwargs) label = cv2.copyMakeBorder(label, value=0, **pad_kwargs) # Handle ended # Random Cropping h, w = label.shape start_h = random.randint(0, h - crop_size) start_w = random.randint(0, w - crop_size) end_h = start_h + crop_size end_w = start_w + crop_size image = image[start_h:end_h, start_w:end_w] label = label[start_h:end_h, start_w:end_w] # Cropping ended return image, labeldef randomFlip(image, label): if random.random() < 0.5: image = np.fliplr(image).copy() label = np.fliplr(label).copy() return image, labeldef BGR2RGB(image): image = image.copy() temp = image[:,:, 0].copy() image[:, :, 0] = image[:, :, 2].copy() image[:, :, 2] = temp return image |
【测试与结果】
测试代码如下:
1 2 3 4 5 6 7 8 9 10 11 | # -*- coding:utf-8 -*-from datasets.VOC import VOC12Datasetimport matplotlib.pyplot as pltimport cv2a = VOC12Dataset(root_path='E:\VOCtrainval_11-May-2012\VOCdevkit\VOC2012', split='train')plt.imshow(a[0][2])plt.show()cv2.imshow('a', a[0][1])cv2.waitKey(0)cv2.destroyAllWindows() |
结果展示见下图:

其中:左图为原始图像,中间图为经过数据集加载后得到的图像,右图为pyplot输出的Ground-truth图像。
